When you log into Domains with your Trinity credentials, you are taken to an interface that lets you manage multiple aspects of your web space, including applications, files, security settings, access logs, user accounts, and more. This interface, which is widely used by web hosts, is called cPanel.
Because cPanel is designed to manage so many different things, it might look overwhelming. Don’t worry! For most users, only the Applications section at the top is important. Some of the other sections will be covered in Advanced Use of Domains.

Installatron
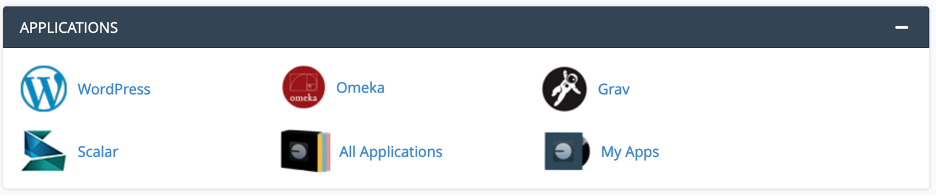
The top section of cPanel, Applications, allows you to install new applications on your site, as well as to access and configure applications that you’ve already installed. All applications that you’ve installed are found under the My Apps icon.
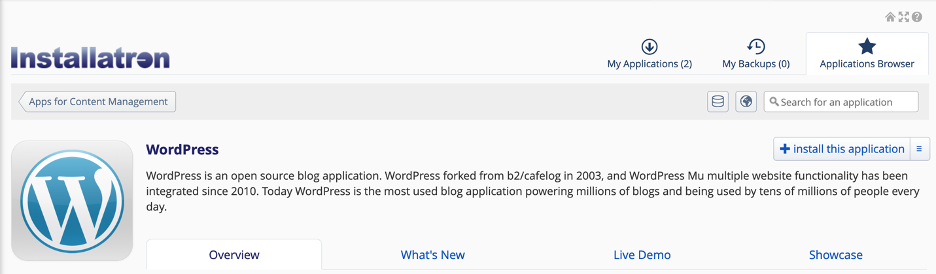
Applications, such as WordPress, Omeka and Scalar, are installed and managed through a feature called the Installatron. When you install a new instance of WordPress, the interface looks like this:
When you look under My Apps after installing an instance of WordPress, you’ll see an interface like this:
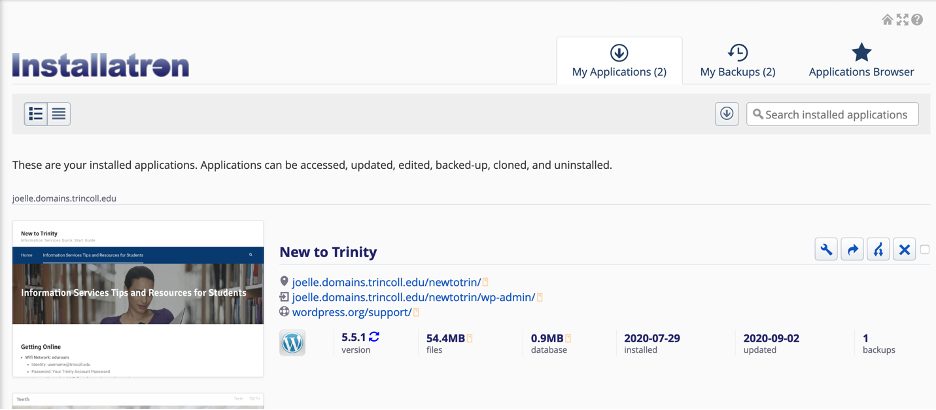
If you click the WordPress icon that appears right under the Applications label, you will begin the process of installing a new instance of WordPress. Make sure that you click on My Apps instead if you want to work with an existing WordPress installation. To access the WordPress dashboard, click on the link that ends with ‘wp-admin.’
To learn more about some of these apps, see a small sample of Trinity examples in our Application Showcase.